Looking for a delicious jam that’s easy to make and free from added sugars? This easy, sugar-free jam is a delicious, fruity spread that helps support balanced blood sugar levels. Perfect for anyone managing diabetes.
I used to think making homemade jam was an unnecessary faff, but I’m officially a convert! After my daughter’s Type 1 diabetes diagnosis, I began leaning into simple, homemade recipes that support better blood sugar management, and this easy sugar-free jam has become a firm favourite in our kitchen.
It’s a go-to jam recipe for anyone looking to reduce their sugar intake, especially if you’re managing diabetes.
A Refined sugar Free, Diabetic-Friendly Jam You’ll Love
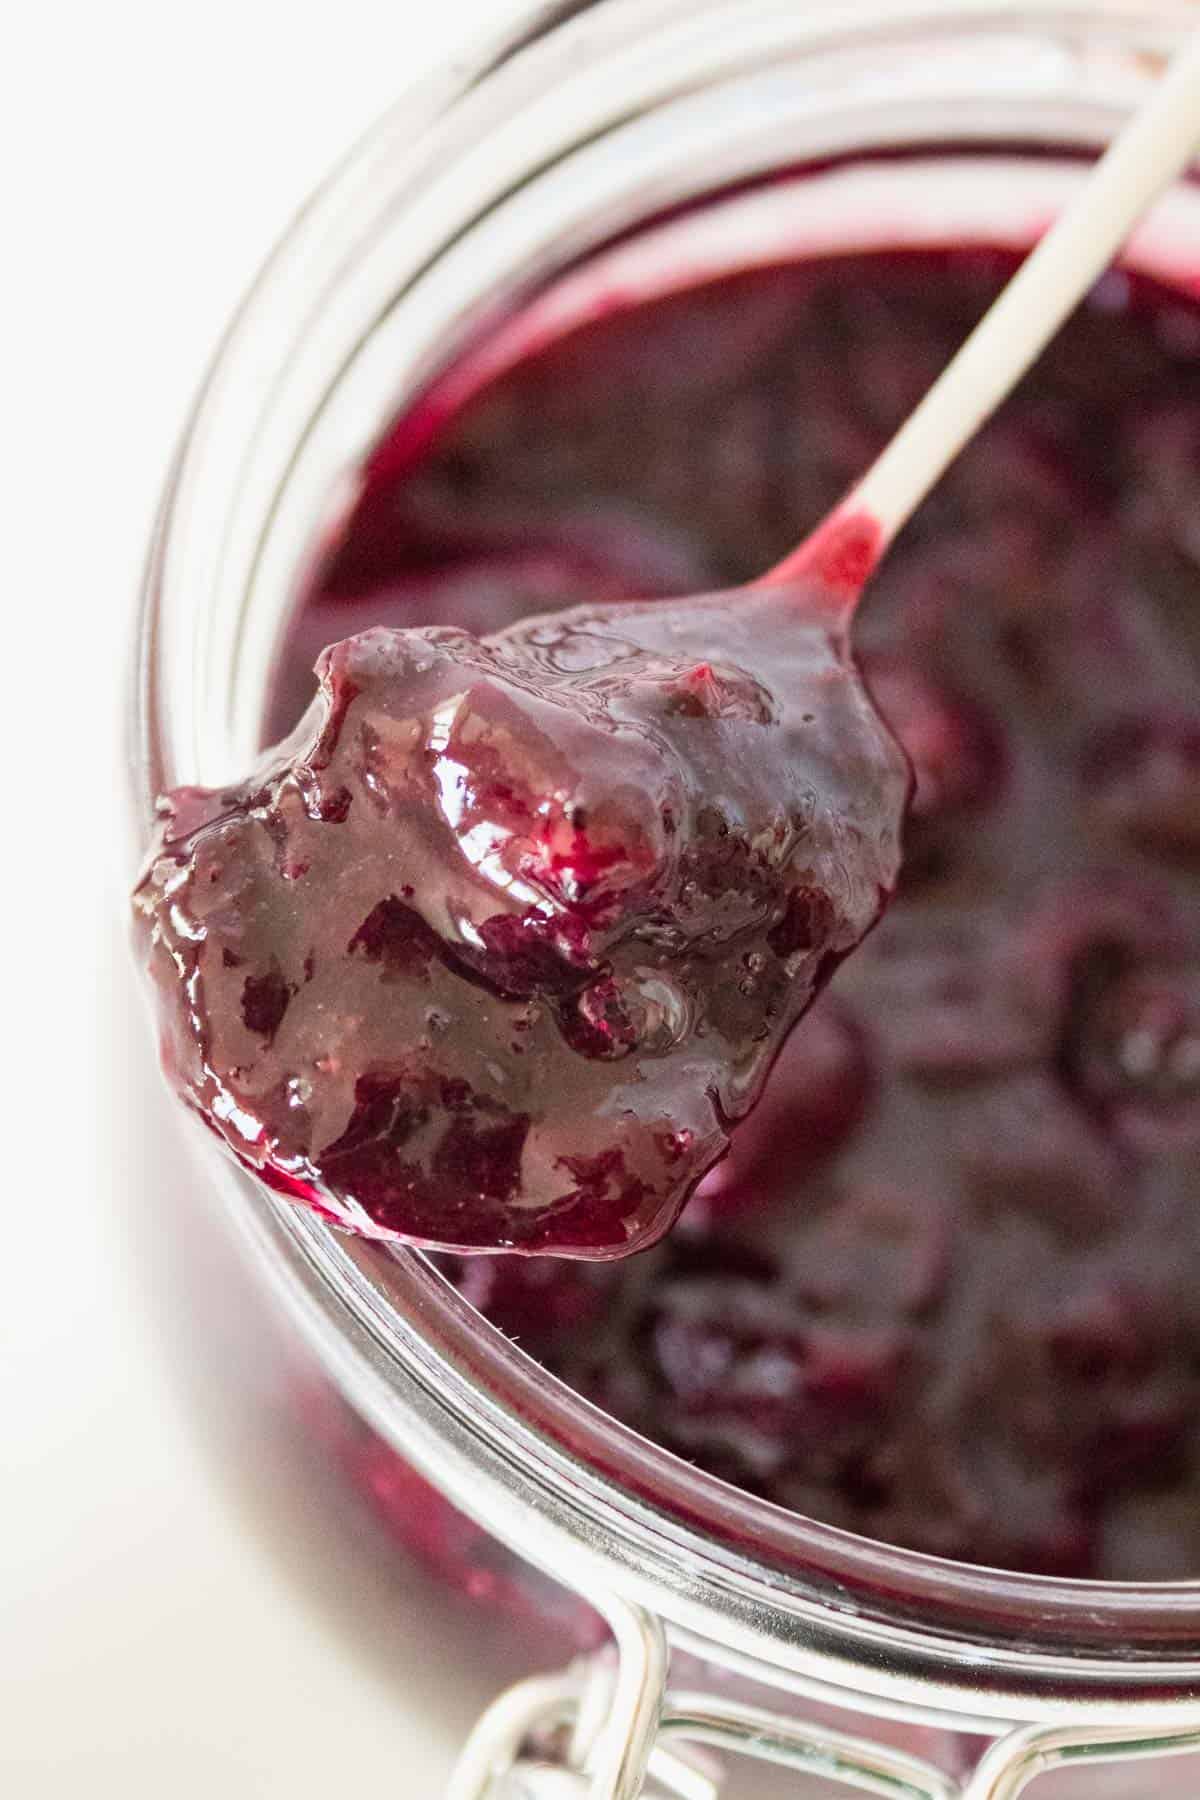
With just three ingredients and ready in under 30 minutes, this naturally sweet, refined sugar-free jam is vegan, low in carbs, and bursting with fruity flavour. It makes a brilliant spread for toast, a swirl in yoghurt, or even a deliciously healthier cake filling.
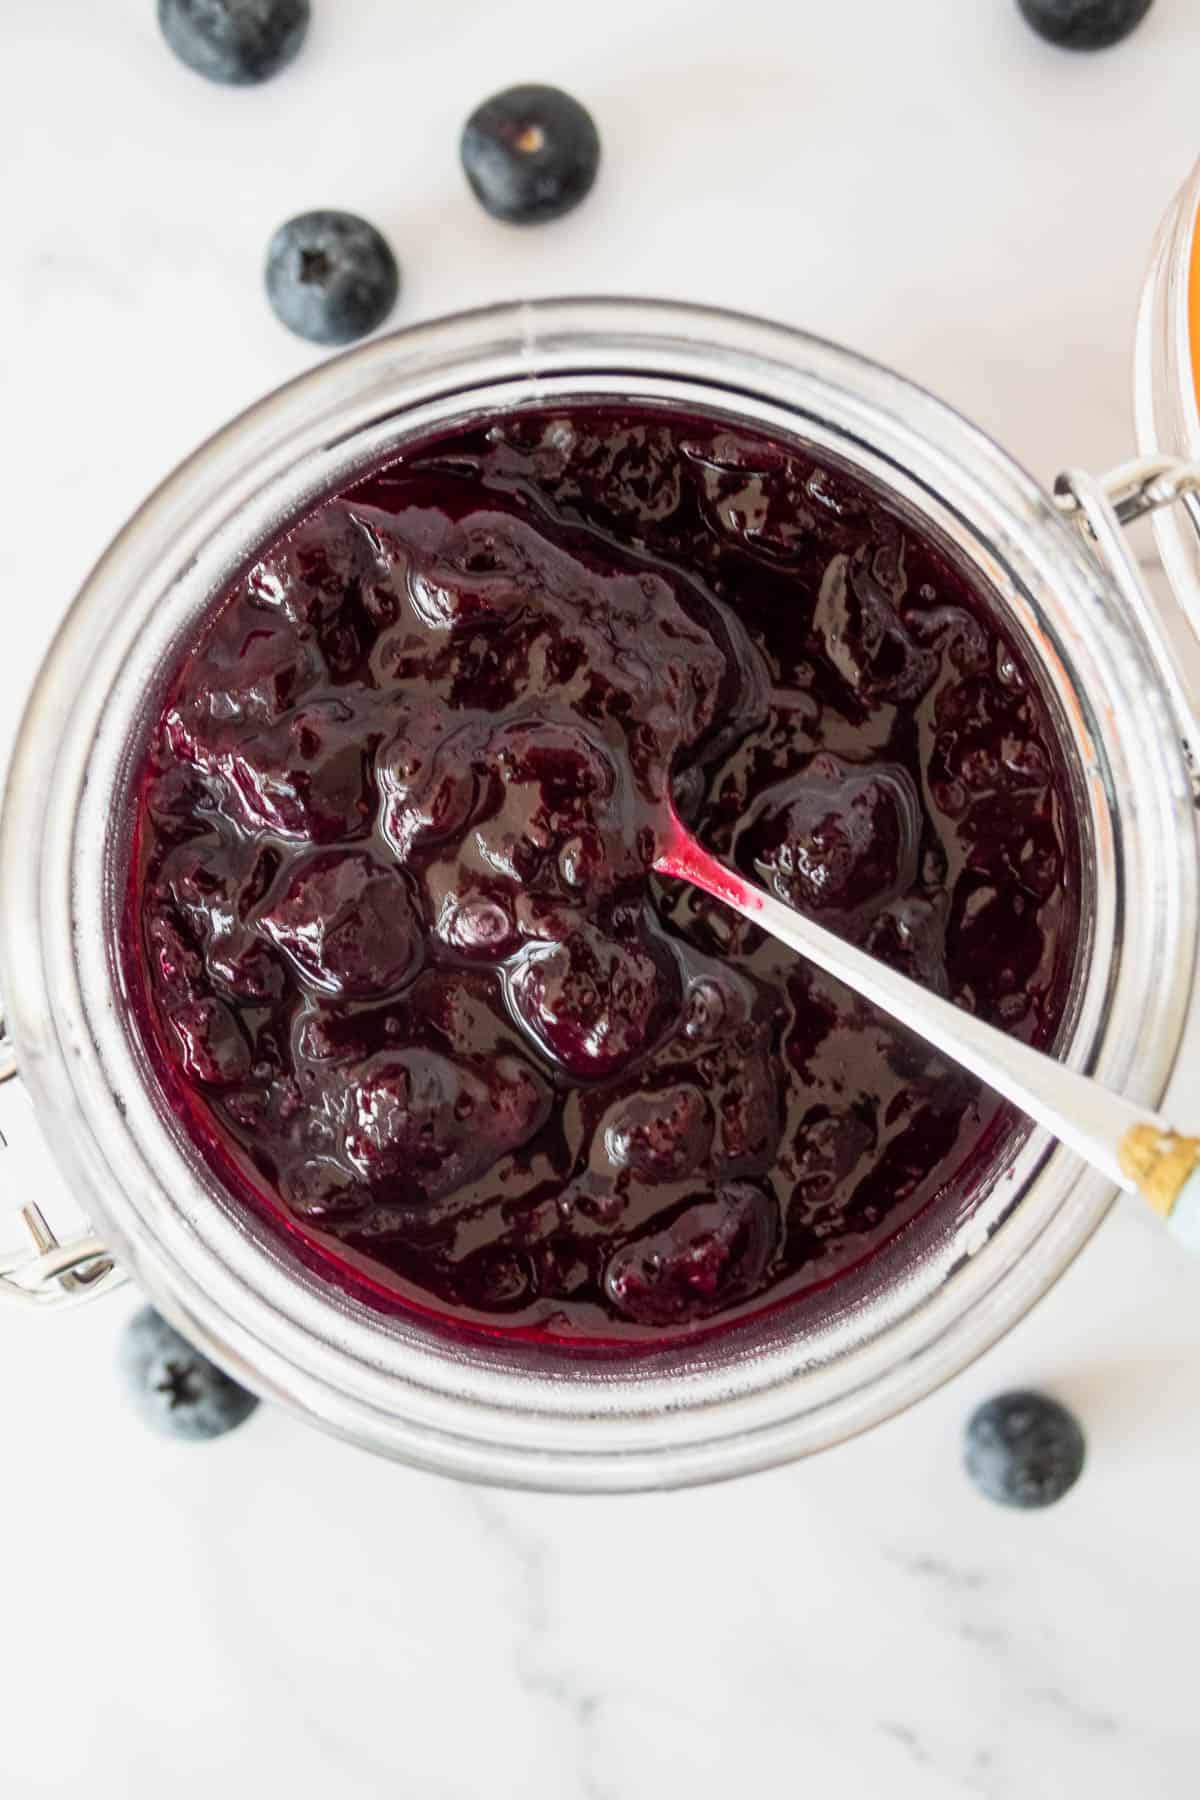
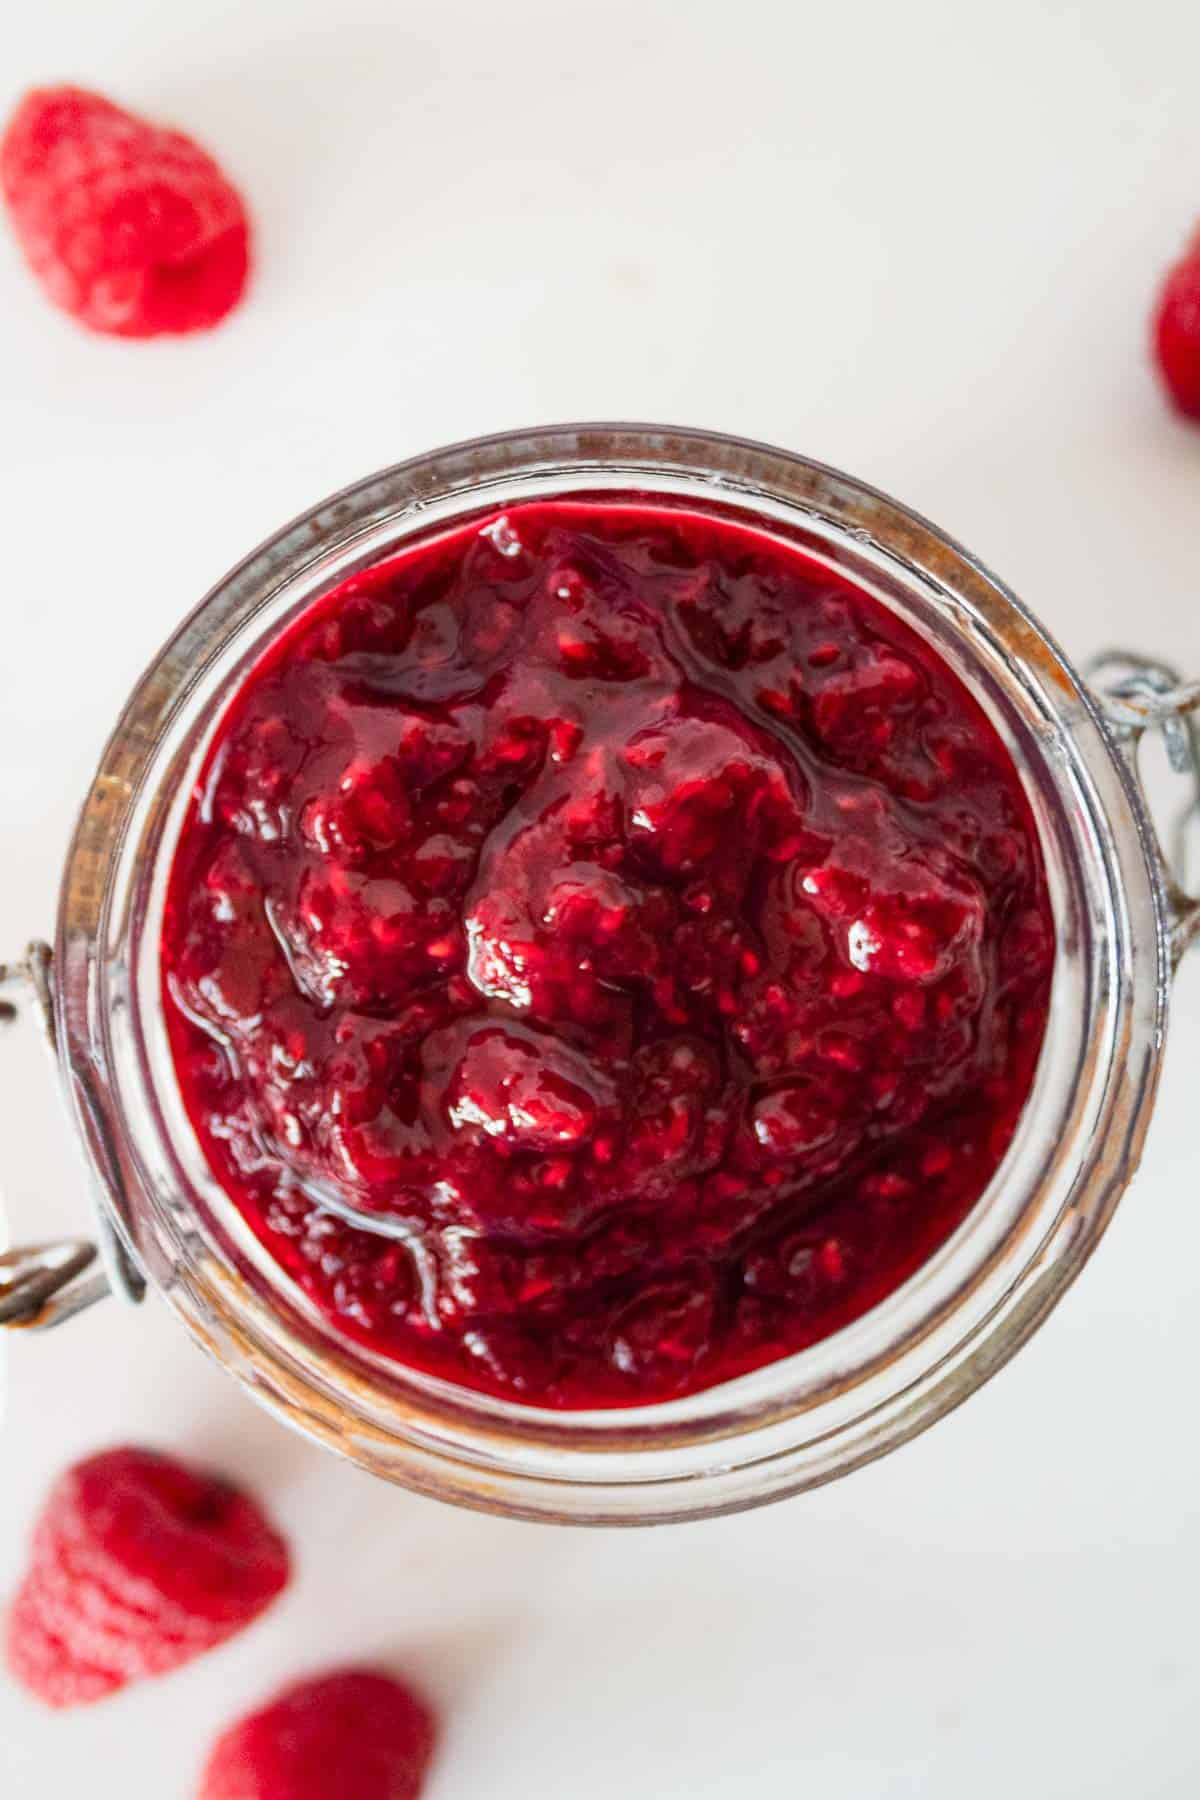
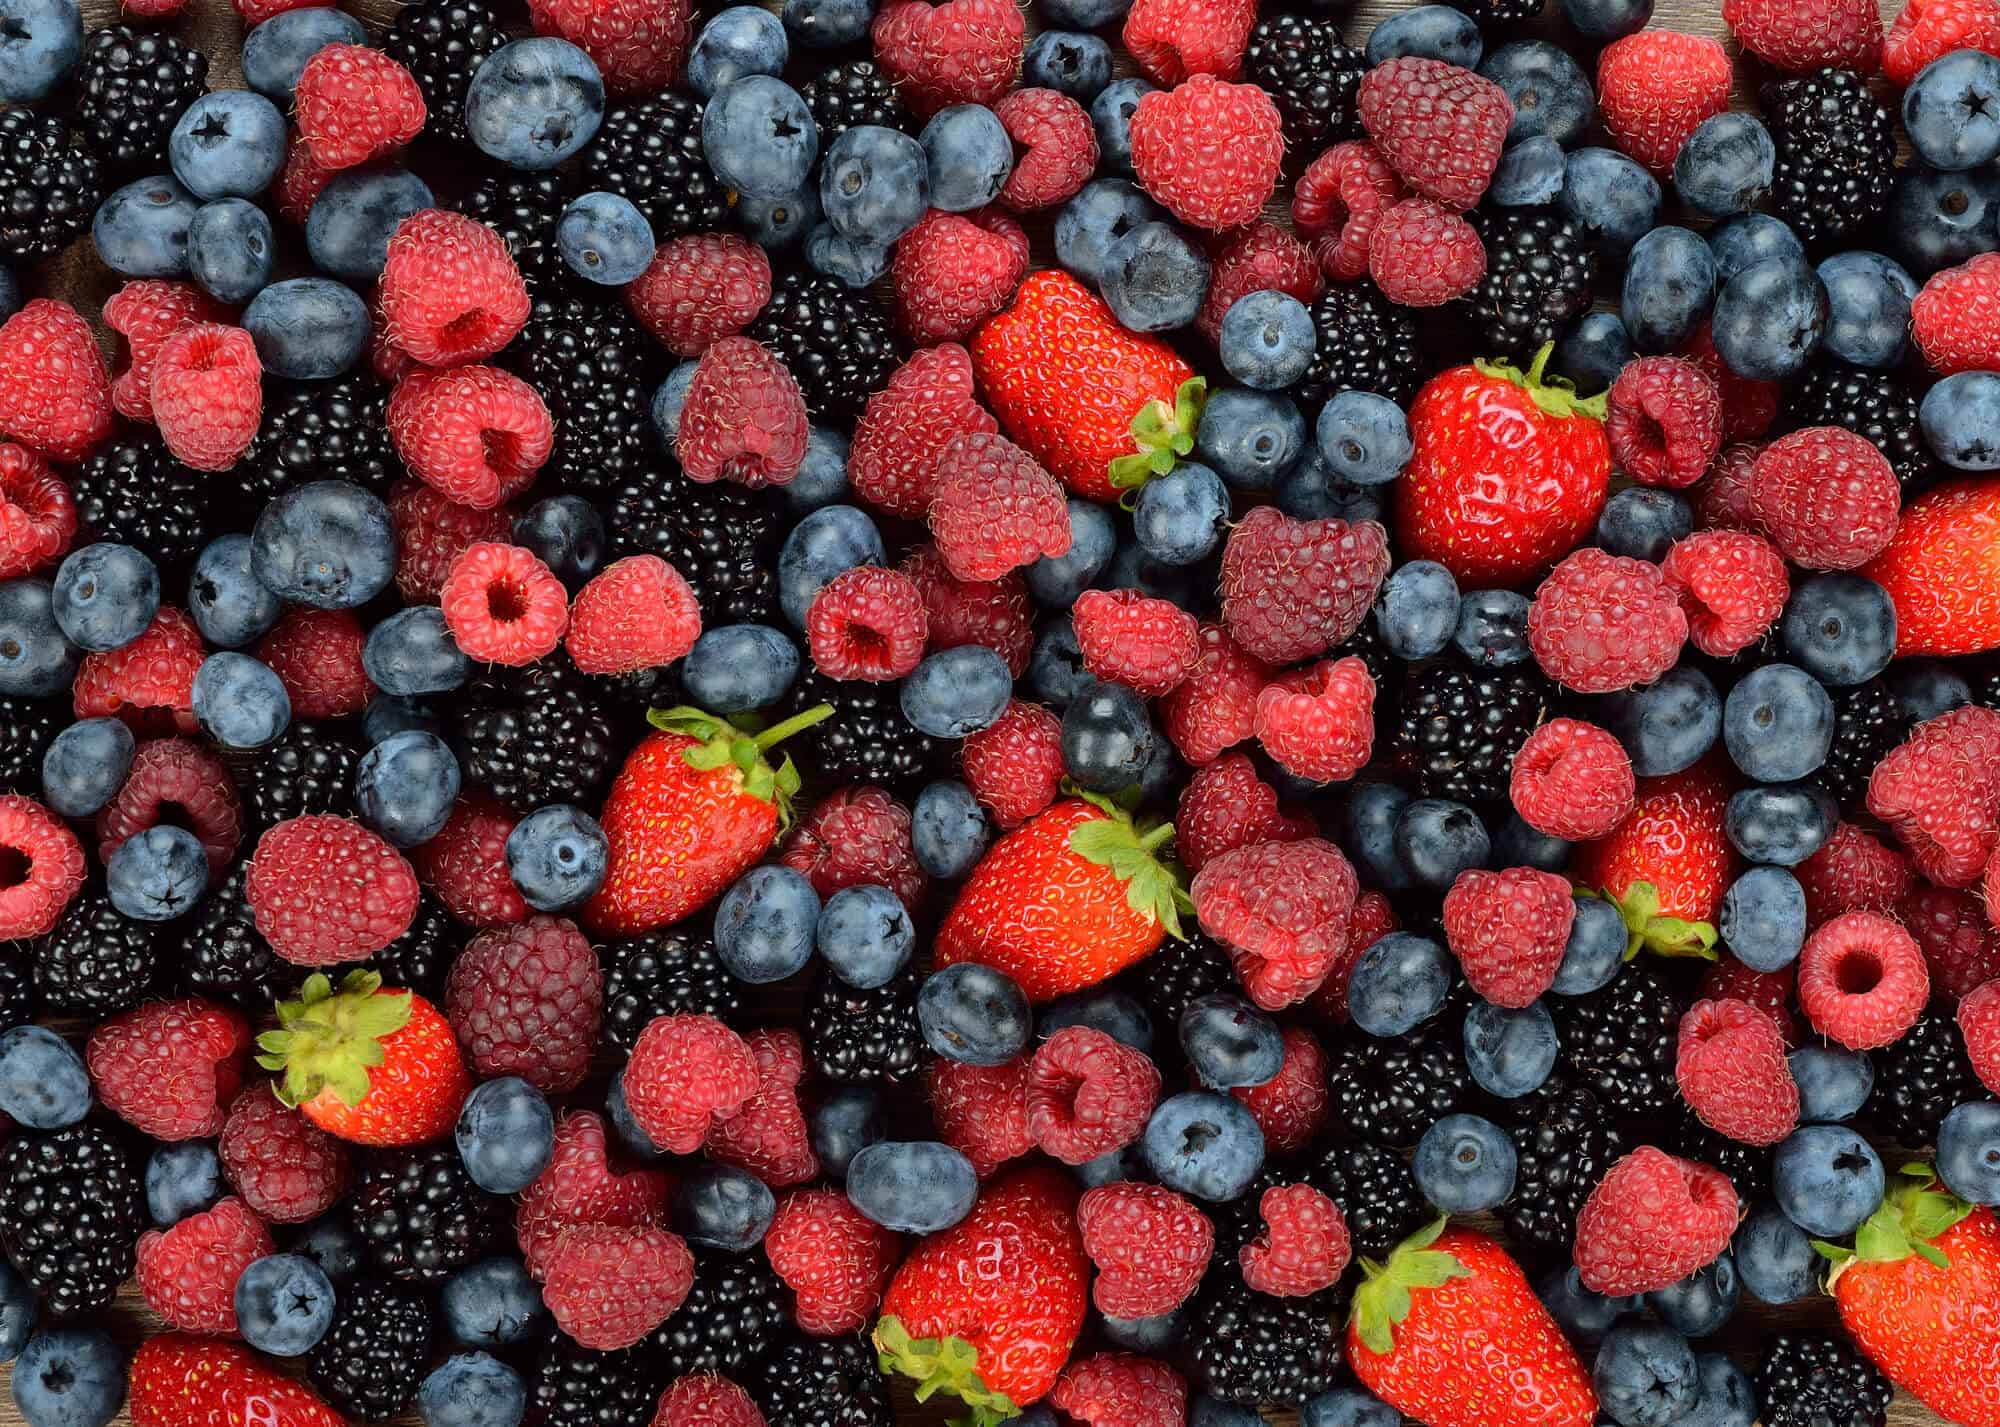
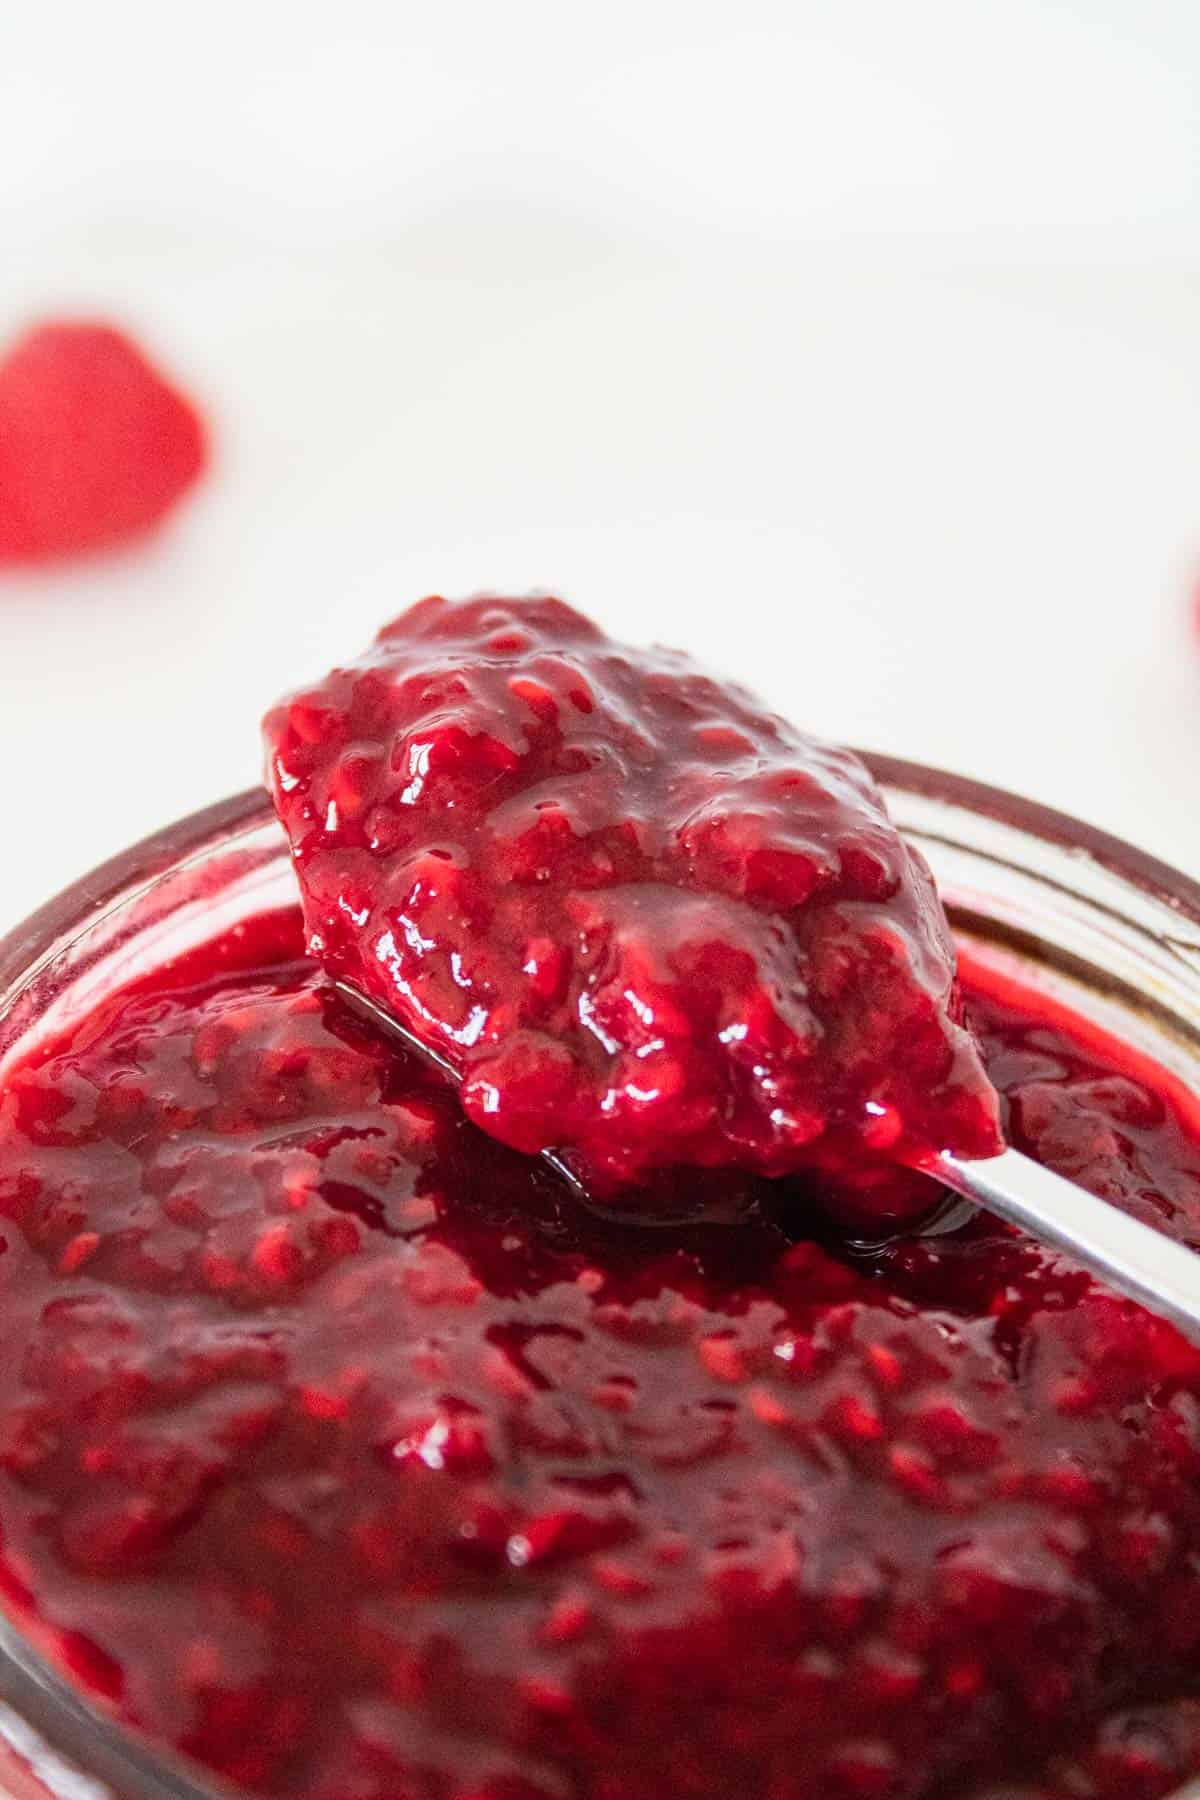
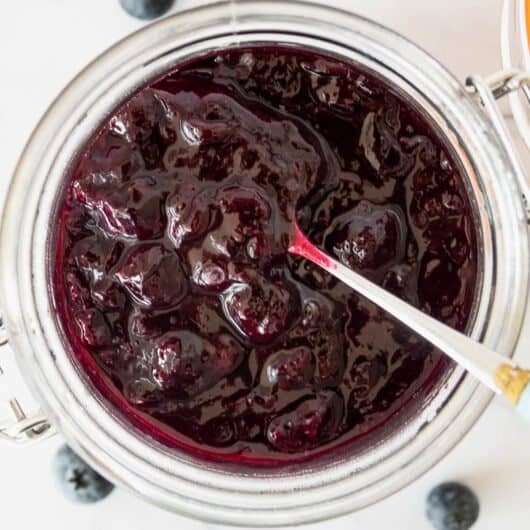
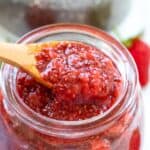
I’ve found that berries work best in this recipe—especially blueberries, raspberries or strawberries, but feel free to experiment with other fruits or try flavour combinations. I often throw in some rhubarb when it’s in season or when I’ve got a few stalks that need using up.
And the best part? It’s a brilliant way to use up any slightly soft or overripe berries, helping you reduce food waste and make something utterly delicious at the same time.
💡 Top tip for blood sugar balance:
Pair your jam with a high-fibre or protein-rich base—like wholegrain toast, Greek yoghurt, or even chia pudding. This helps slow digestion and reduce post-meal glucose spikes!
Why This Sugar-Free Jam Works for Diabetes
Traditional jams are typically loaded with refined sugar, sometimes more than 50% of the jar is pure sugar! For anyone managing diabetes, this can be a real challenge, as it can cause quick spikes in blood glucose levels and leave you feeling tired or sluggish soon after eating.
That’s why I started making my own diabetic-friendly jam at home. This sugar-free version is lower in carbs, free from refined sugar, and relies on the natural sweetness of fruit—with the option to add a little low-GI sweetener if needed. It’s a simple, delicious alternative that fits easily into a balanced, diabetes-supportive diet.
Why Berries Are the Best Choice
I’ve found that berries, like raspberries, strawberries, and blueberries, work best for this recipe. Not only do they break down beautifully into a jammy texture, but they’re also lower on the glycaemic index (GI) and naturally high in fibre. This combination means they have a gentler impact on blood sugar levels and release their natural sugars more slowly.
You can absolutely get creative with other fruits or combinations (hello rhubarb-raspberry magic!), but for the best blood sugar balance, sticking with berries is a great place to start.
Sweeteners That Won’t Spike Blood Sugar
Depending on your taste preferences, you might not even need to add sweetener—especially if your berries are already ripe and flavourful. But if you do want a touch more sweetness, choose a diabetic-friendly option like:
- Xylitol – Has a minimal impact on blood sugar and adds a natural-tasting sweetness
- Erythritol – Virtually zero-carb and great for those with sensitive stomachs
- Stevia – a natural, no-calorie sweetener from the stevia leaf
These all work beautifully in this recipe and won’t cause the blood sugar spikes like regular sugar. But bear in mind the quantity used in this recipe is for xylitol and other substitutes will have varying levels of sweetness.
👉 Want to learn more about sweeteners and how they affect blood sugar?
Have a read through my full Guide to Sugar Substitutes for Diabetes. It’s packed with tips and swaps.
I personally use xylitol in this recipe (as I do in my healthy homemade chocolate spread), because it keeps the carbs low and preserves that juicy, fruity flavour and classic jammy texture we all love.
Ingredients & Equipment Needed for Sugar-Free Jam
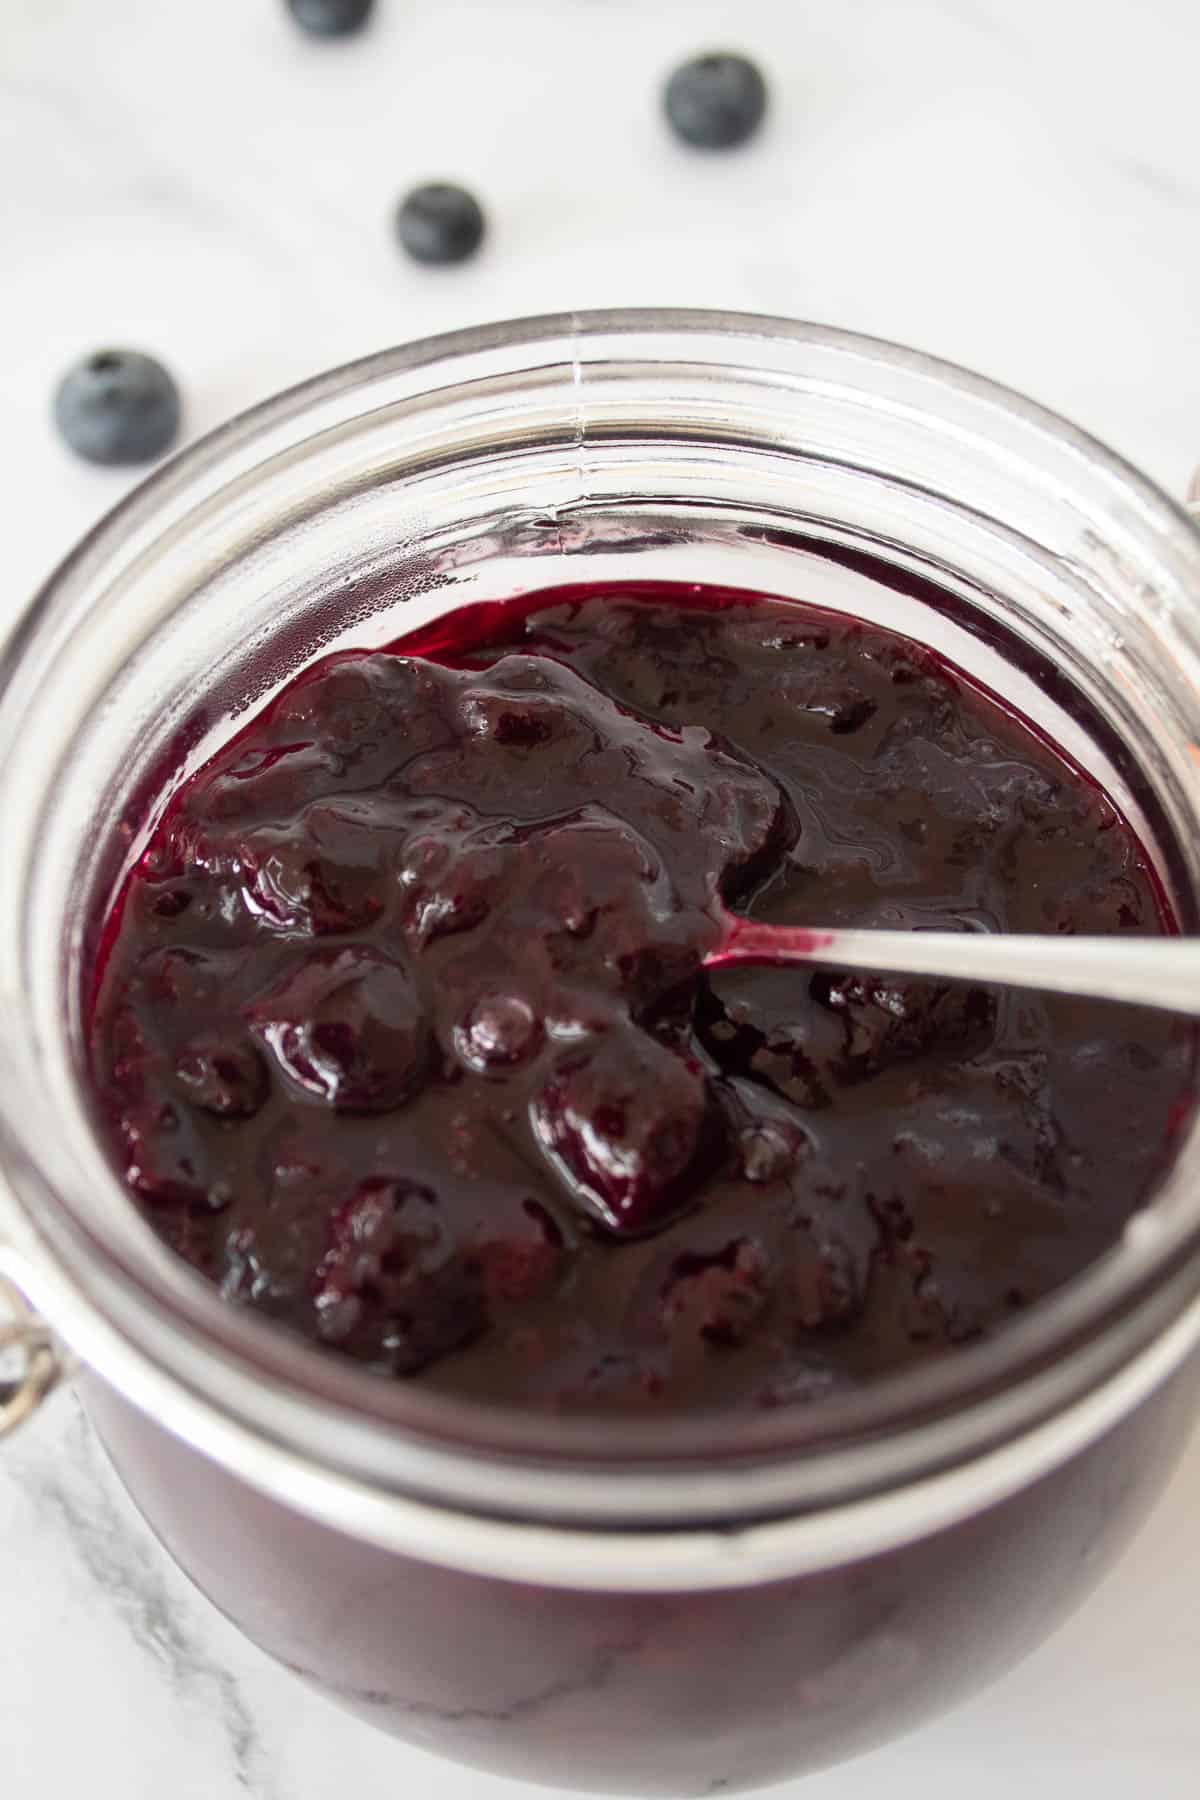
Fresh or Frozen Fruit – For this recipe, I’ve used fresh fruit, but frozen berries work just as well. If you’re using frozen fruit, just be sure to defrost and drain them thoroughly to avoid excess moisture. This helps the jam thicken up nicely.
Lemon Juice or Water – Lemon juice adds a zesty kick to your jam while also helping to preserve it. The acidity balances the sweetness of the fruit, and it’s a simple way to extend the shelf life of your homemade jam without any added sugar.
Xylitol – Xylitol is my go-to sugar substitute for this recipe because it behaves like sugar in terms of sweetness and texture, but it doesn’t raise blood sugar levels. It’s a 1:1 substitute for sugar, which makes it easy to swap in. Plus, it has fewer carbs than traditional sugar, making it a perfect diabetic-friendly jam.
Equipment
You’ll need a small saucepan for cooking your jam and sterilized jars for storing it. Sterilizing jars ensures the jam stays fresh longer and prevents any unwanted bacteria from spoiling it.
Step-by-Step Guide on how to make diabetic jam
As I mentioned, this easy sugar-free jam really couldn’t be easier to make. Here’s how you can whip up this diabetic-friendly jam in just a few simple steps:
Step 1: Prepare the Ingredients
Add your fresh fruit, xylitol, and 2 tablespoons of lemon juice (or water) to a small saucepan. (If you’re using frozen fruit, skip the water, as the fruit will release enough liquid on its own.)
Step 2: Cook the Jam
Turn the heat to medium-high and bring the mixture to a boil. Once boiling, continue to cook for about 10 minutes, stirring regularly to prevent burning and ensure the fruit is breaking down evenly.
Step 3: Simmer and Reduce
Reduce the heat to low and let the mixture simmer for another 15–20 minutes. During this time, the fruit will break down further, and the jam will thicken. Keep an eye on it, stirring occasionally.
Step 4: Jar the Jam
Once the jam has reached your desired consistency, carefully spoon it into sterilized jars while it’s still hot. Seal with lids and let it cool completely before storing.
Recipe Adjustments for Frozen Fruit
If you’re using frozen fruit, follow these simple tweaks to get the best results:
- Defrost the Frozen Fruit First – Defrost and drain the frozen fruit thoroughly to avoid excess moisture
- Skip the Extra Water – Frozen fruit will release more water as it cooks, so no need to add any extra
- Extend Cooking Time – Because frozen fruit has extra water content, let it cook for an additional 5 minutes in each cooking step. This helps reduce the jam’s consistency.
Using frozen fruit means you can make your favorite homemade sugar free jam all year round, and it’s often a budget-friendly choice.
Storage Tips for Homemade Sugar-Free Jam
This jam should be stored in a sterilised jar and will keep in the fridge for up to 2- 3 weeks.
Portions can also be stored in an airtight container in the freezer for up to three months. Just simply thaw it at room temperature for spreading.
How to sterilise jars
To sterilise your jars, simply wash them in the dishwasher at a high temperature. Alternatively, I always like to heat them in the oven at 120C / 100C fan for 15 minutes.
Serving Suggestions & Ways to Use This Jam
This delicious, sugar-free jam is incredibly versatile, making it the perfect addition to your meals and snacks. Here are a few of my favourite ways to enjoy it:
- Swirled through Greek Yoghurt or Porridge
For a fruity kick to your breakfast, swirl a spoonful of this jam into creamy Greek yoghurt or in my High Protein Cottage Cheese Porridge. It’s a great way to boost your morning routine with a natural sweetness that won’t spike your blood sugar. For more healthy breakfast ideas, check out my Healthy Breakfast Ideas for Diabetes. - Spread on Oatcakes, Sourdough, or Low-Carb Toast
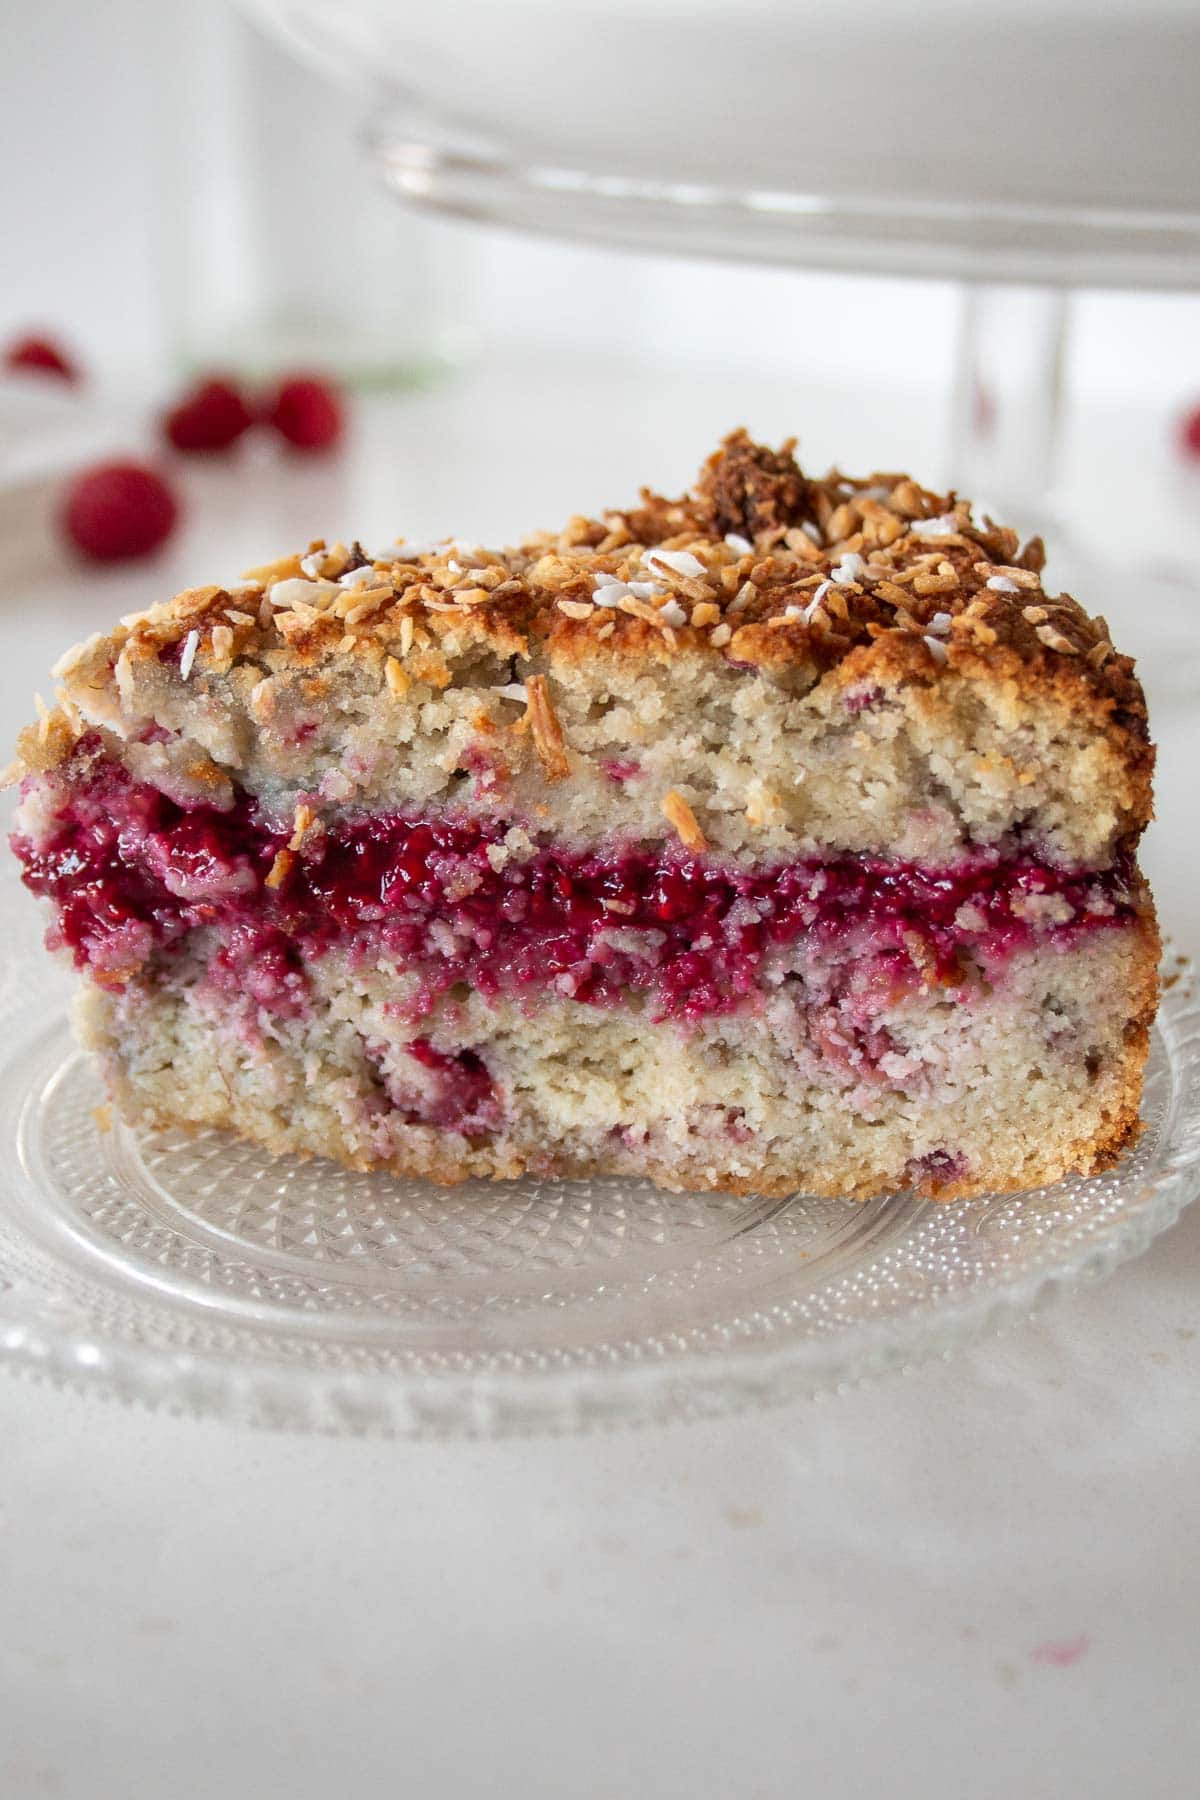
Spread this jam on your favourite oatcakes, sourdough, or a slice of low-carb toast for a simple yet satisfying snack or breakfast. - As a Layer in a Healthier Victoria Sponge
Use this jam as a delicious, low-sugar filling in a Healthier Sponge Cake or any other sugar-free baked goods. It adds natural sweetness and moisture while keeping things diabetic-friendly. - On Top of Chia Pudding
Add a dollop of this jam on top of chia pudding for a burst of flavour and a boost of fibre. It’s the perfect way to enjoy a light, healthy snack or dessert. - Stirred into Cottage Cheese (Yum!)
Stir a spoonful of jam into cottage cheese for a quick, protein-packed snack. For more ideas on how to enjoy cottage cheese, check out my Healthy Snack Ideas for Diabetes.
💡 Snack Ideas for People with Diabetes – Need a quick, satisfying snack? Check out my Balanced Snack Ebook for Blood Sugar Balancing Snacks.
Diabetes Note
This sugar-free jam is not only a tasty treat but also a practical choice for diabetes management, as it’s low in carbs, free from refined sugars, and made with ingredients that help keep blood sugar levels stable without sacrificing flavour.
Type 1 Carb Counting
The estimated carbohydrate content of this diabetic friendly jam recipe is based on the countable ingredients that contribute to the total carbs. Here’s the breakdown:
- 400g of fresh raspberries = 20.4g of carbs
- The total weight of the jam made is 280g (minus the weight of the jar)
Finally, to work out a 30g portion (a generous heaped teaspoon) of jam, use the following formula:
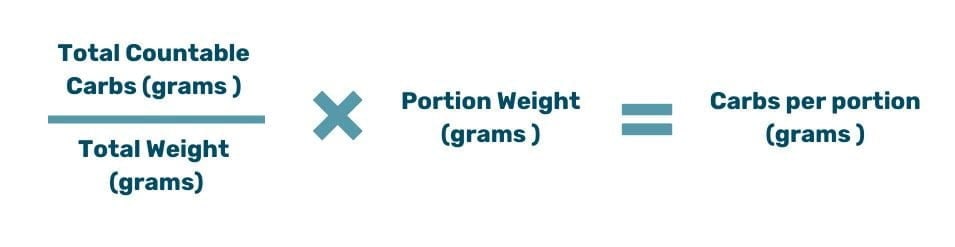
- Total countable carbs = 20.4g
- Total food weight = 280g
- 16 / 280 x 30 = 2
g of carbs
The total countable carbs per 30g portion of sugar-free raspberry jam is 2g
Always adjust according to the fruit you use and your personal carb counting needs. Testing your individual blood glucose response can also help fine-tune the portion size.

Did you try this recipe?
I’d love to hear how it went! Leave a star rating or a quick comment below. Your feedback means the world and helps others find the recipe too.
Frequently Asked Questions
Can people with diabetes eat jam?
Yes! People with diabetes can enjoy jam in moderation. Especially when it’s homemade and free from refined sugar. Traditional jam can cause blood sugar spikes due to its high sugar content, but this sugar-free version is lower in carbs and sweetened with fruit and diabetic-friendly alternatives.
What’s the best sugar substitute to use in jam?
I like using xylitol as it has a very similar sweetness to sugar and doesn’t affect blood glucose in the same way. However, erythritol or stevia are also great options. Just be sure to use a sweetener that’s heat-stable and suitable for cooking. You can find more on this in my Guide to Baking With Sugar Substitutes.
How long does homemade sugar-free jam last?
This jam keeps well in the fridge for up to 1–2 weeks in a sealed jar. If you’d like it to last longer, you can freeze it in portions and defrost as needed. It’s perfect for small batch cooking!
Can I make this without any sweetener at all?
Absolutely. If your berries are sweet and ripe enough, you may not need to add any sweetener. Just taste as you go. The natural sugars in fruit often shine through on their own, especially when reduced down slowly.
Easy Sugar Free Jam – Diabetic Friendly
A quick and easy jam recipe with no added sugar which is perfect in cakes, sandwiches or smothered all over toast.
10
servings5
minutes30
minutes35
minutesKeep the screen of your device on
Ingredients
400 g 2 4/7 cup fresh berries of your choice
2 tbsp 2 tbsp xylitol
2 tbsp 2 tbsp lemon juice or water
Directions
- Add your fresh fruit, xylitol, and 2 tablespoons of lemon juice (or water) to a small saucepan. (If you’re using frozen fruit, skip the water, as the fruit will release enough liquid on its own.)
- Turn the heat to medium-high and bring the mixture to a boil. Once boiling, continue to cook for about 10 minutes, stirring regularly to prevent burning and ensure the fruit is breaking down evenly.
- Reduce the heat to low and let the mixture simmer for another 15–20 minutes. During this time, the fruit will break down further, and the jam will thicken. Keep an eye on it, stirring occasionally.
- Once the jam has reached your desired consistency, carefully spoon it into sterilized jars while it’s still hot. Seal with lids and let it cool completely before storing.
- Once cooled store in the fridge
Tips and Notes
- If you’re using frozen fruit, defrost and drain it before cooking to avoid excess moisture, which can affect the consistency of the jam.
- Diabetes note: Using a sugar alternative like xylitol in this recipe means that you only need to count for your fruit used.
- Carb counting tip- weigh your jar before you put the jam in so you know to subtract this for accurate carb counting.
Nutrition Facts
- Serving Size: 30g
- Calories: 34kcal
- Fat: 0g
- Saturated Fat: 0g
- Carbohydrates: 5g
- Fiber: 3g
- Protein: 1g


Leave a Reply